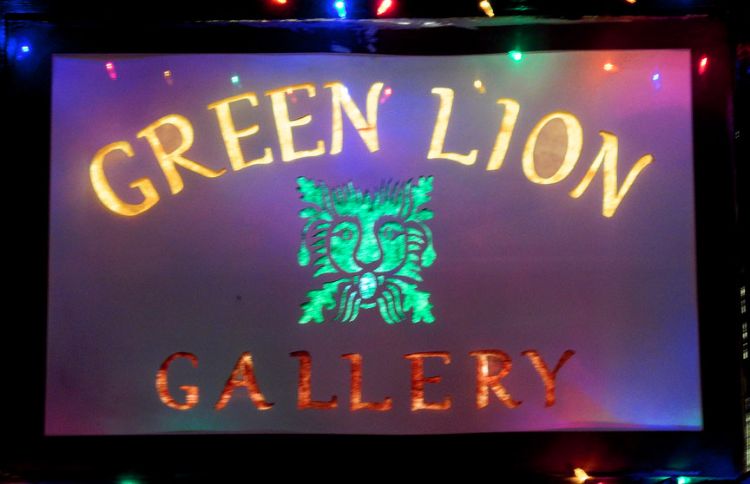
I have been busy preparing for a show that I was recently offered by the Green Lion Gallery in Bath, Maine. 
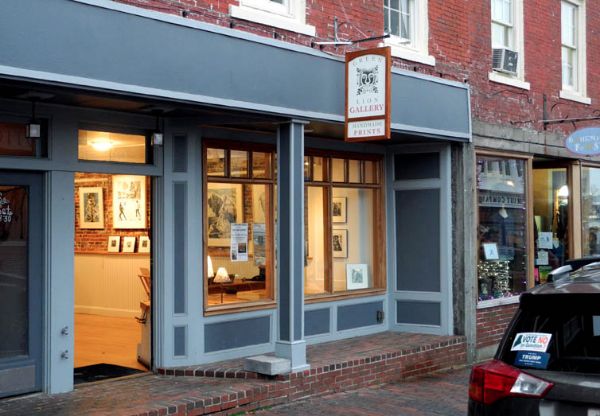
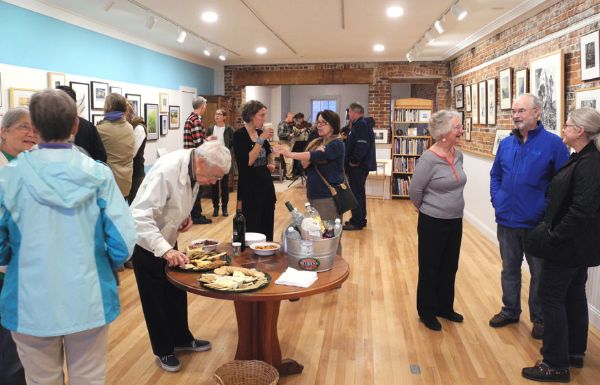
Though I have not yet seen the space myself, looking at photos of the Gallery from its website ( http://greenlionart.com/ ), it looks like a beautiful space, and a very nice gallery, featuring prints by some really talented artists. I will be showing my prints along with a number of my sculptures. The show opens on Friday, February 3rd and will run until mid-March. 
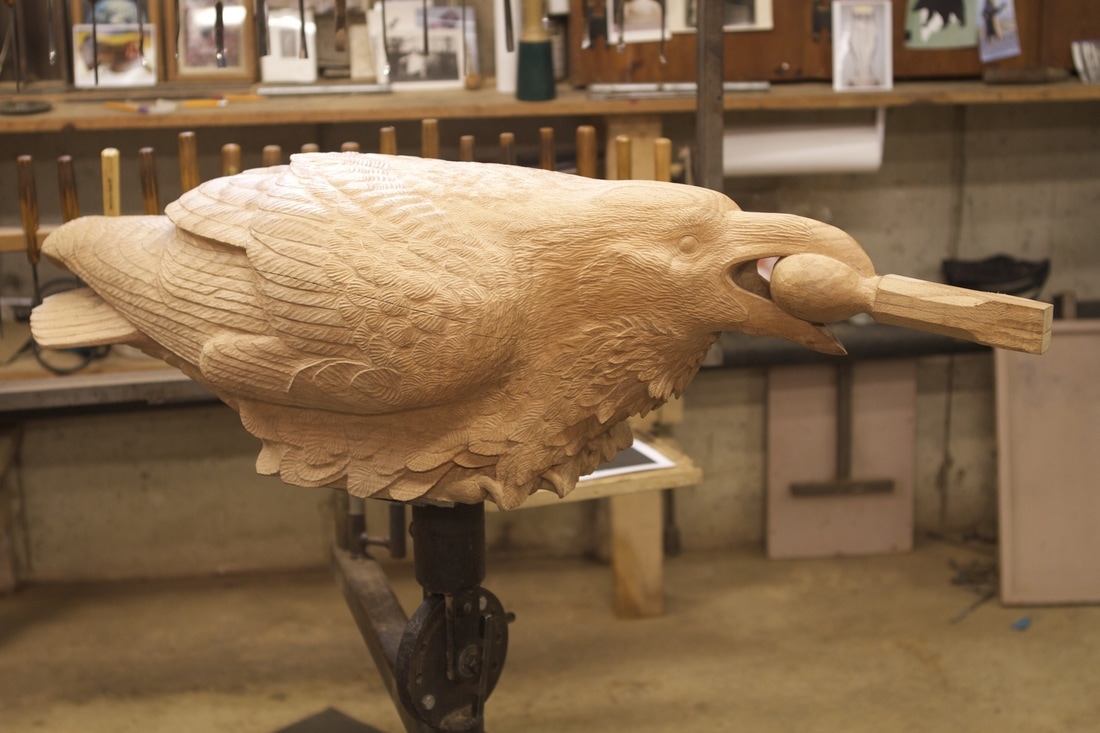
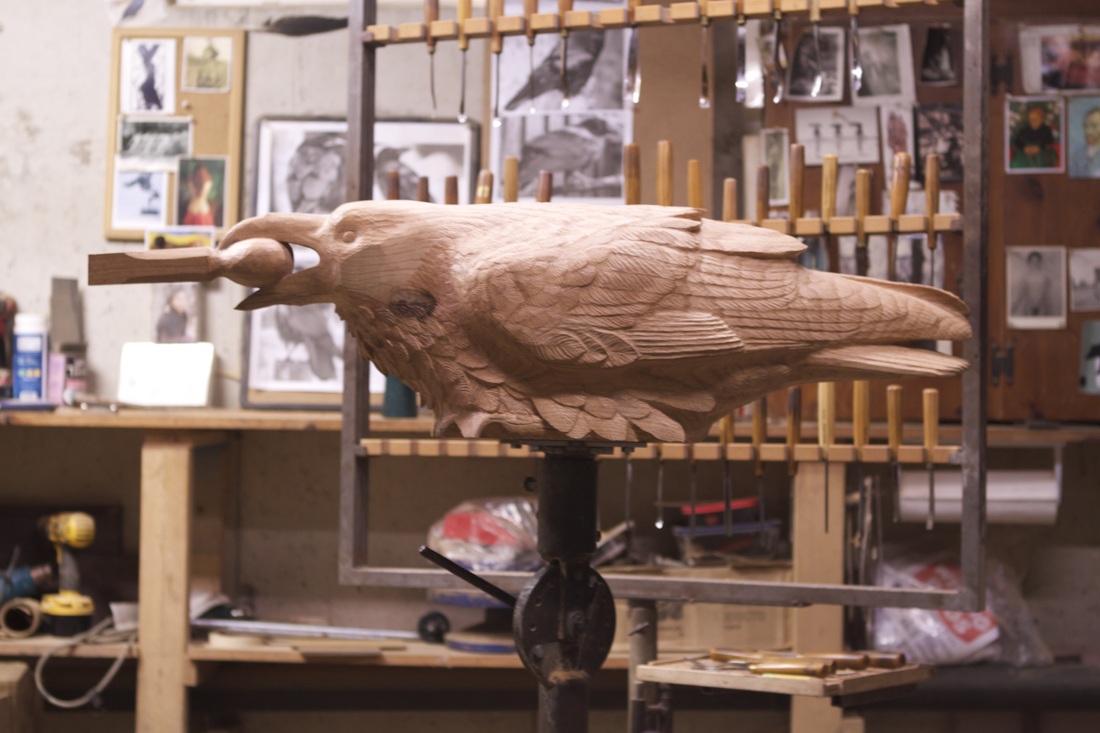
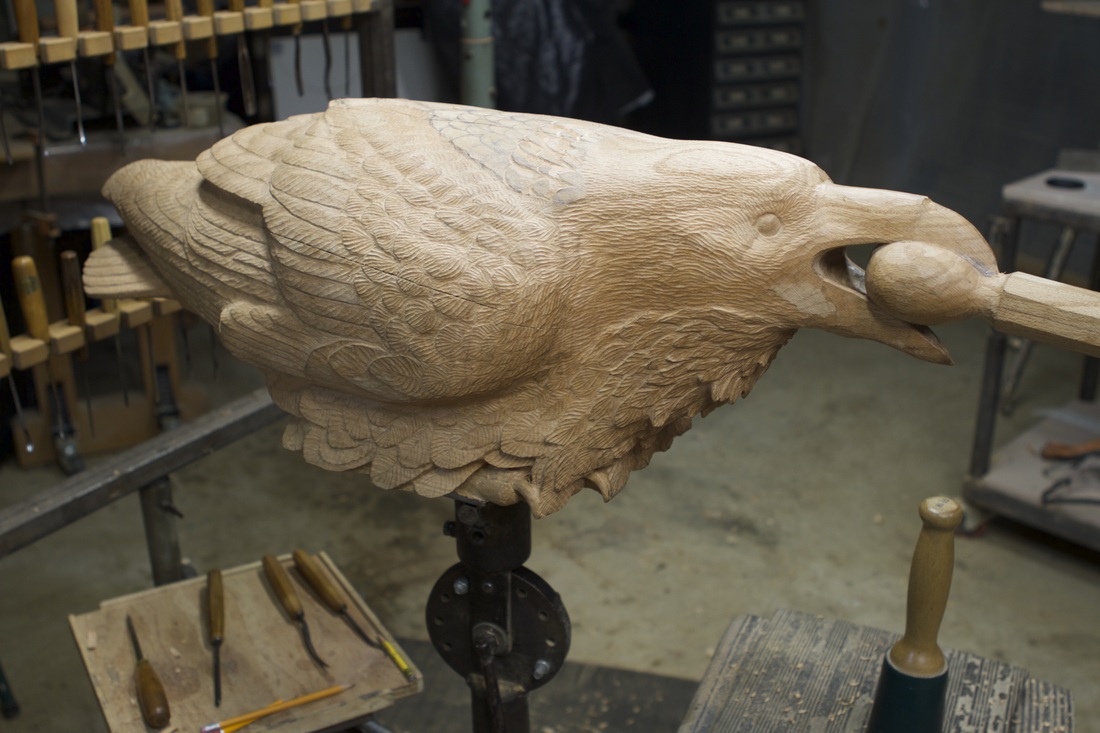
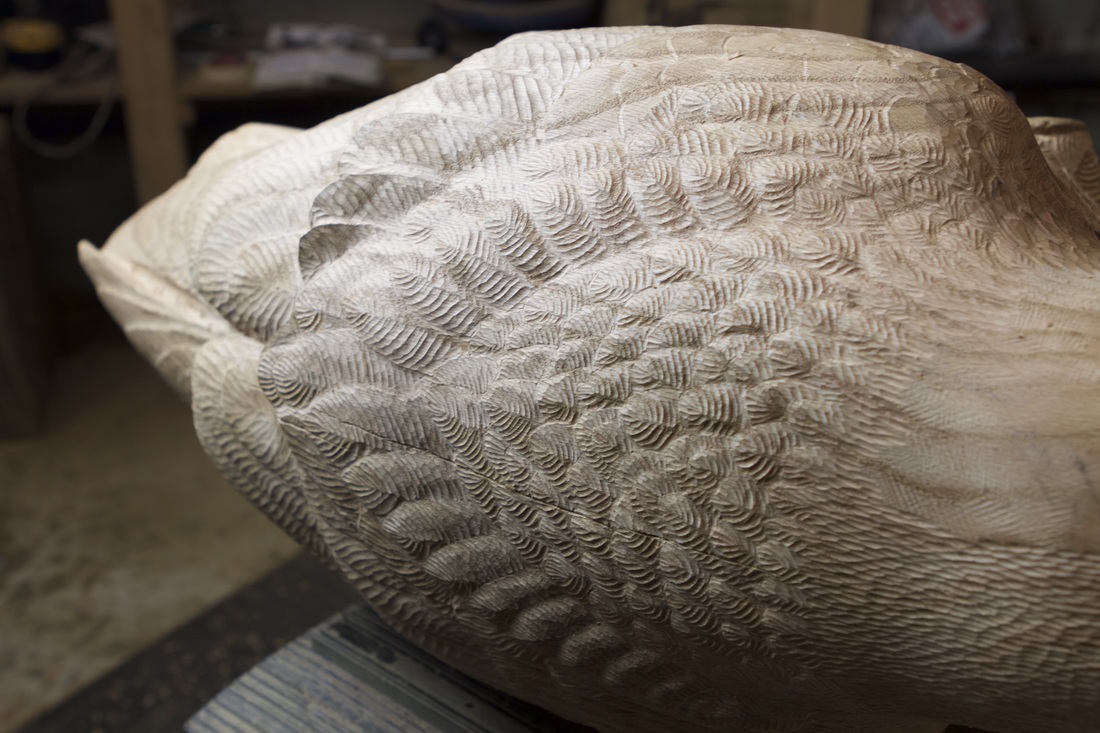
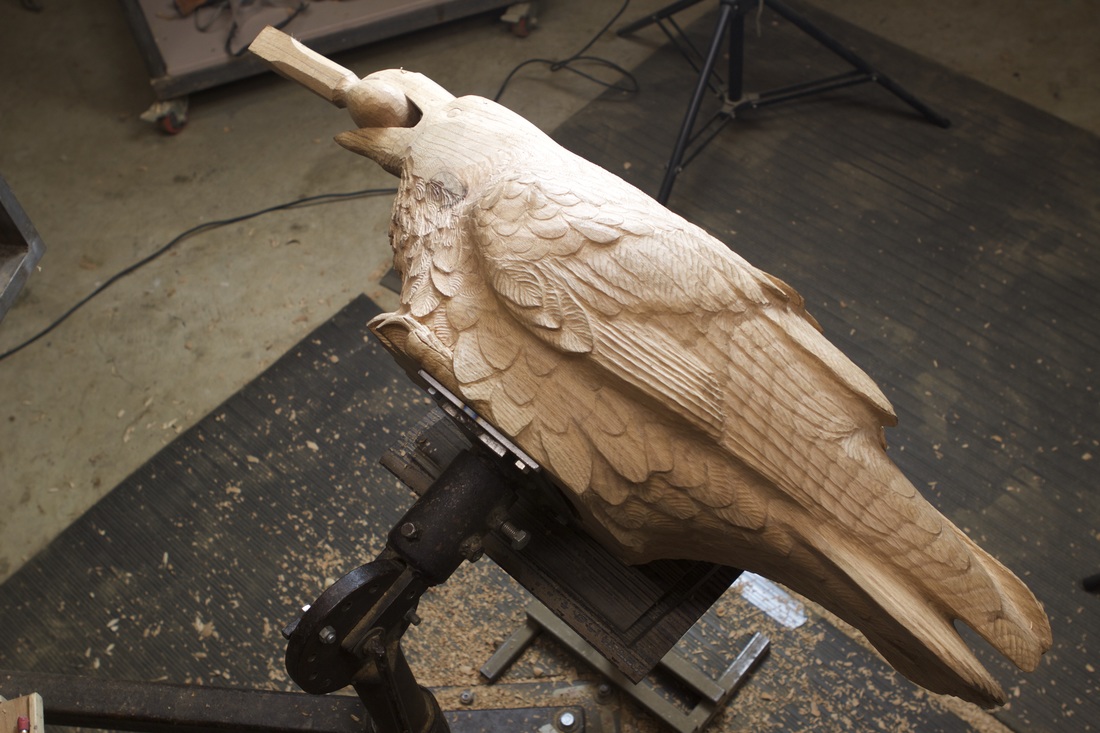
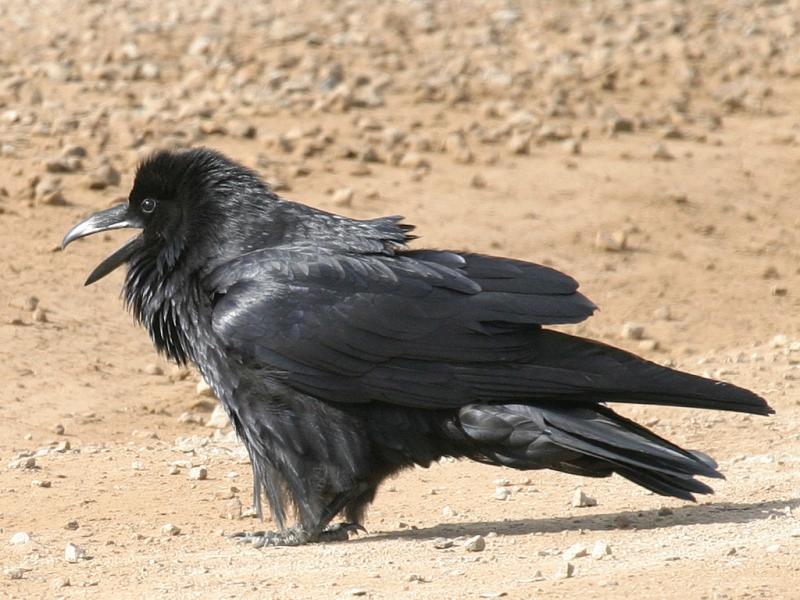
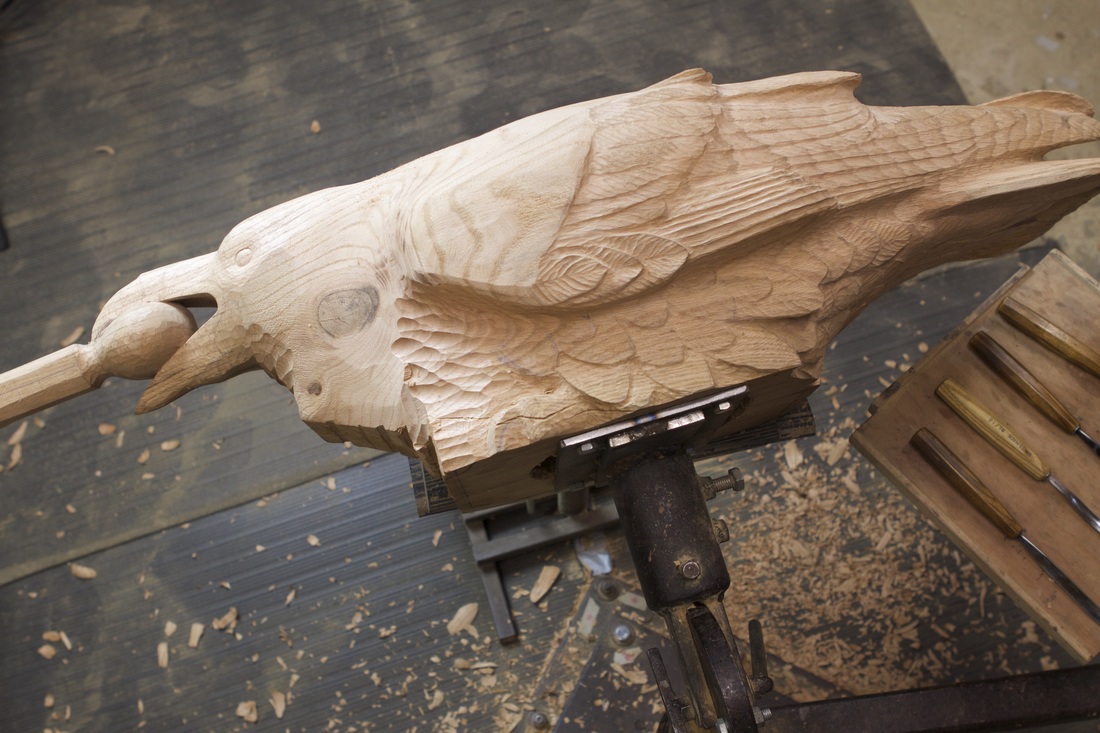
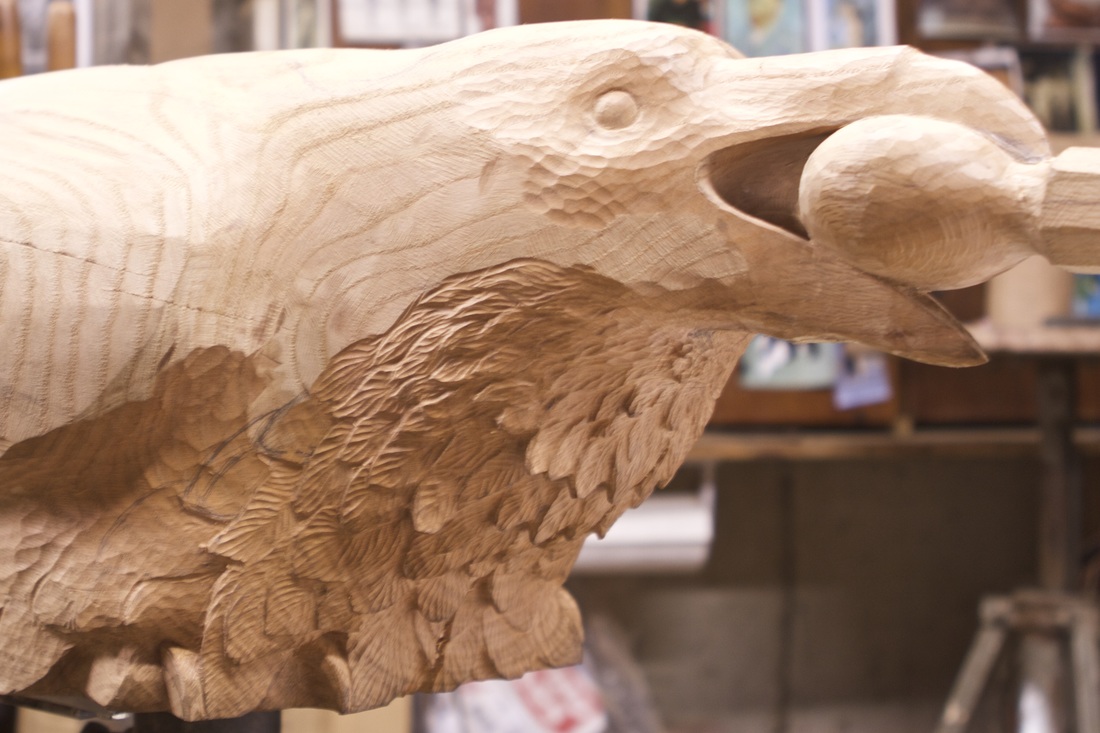
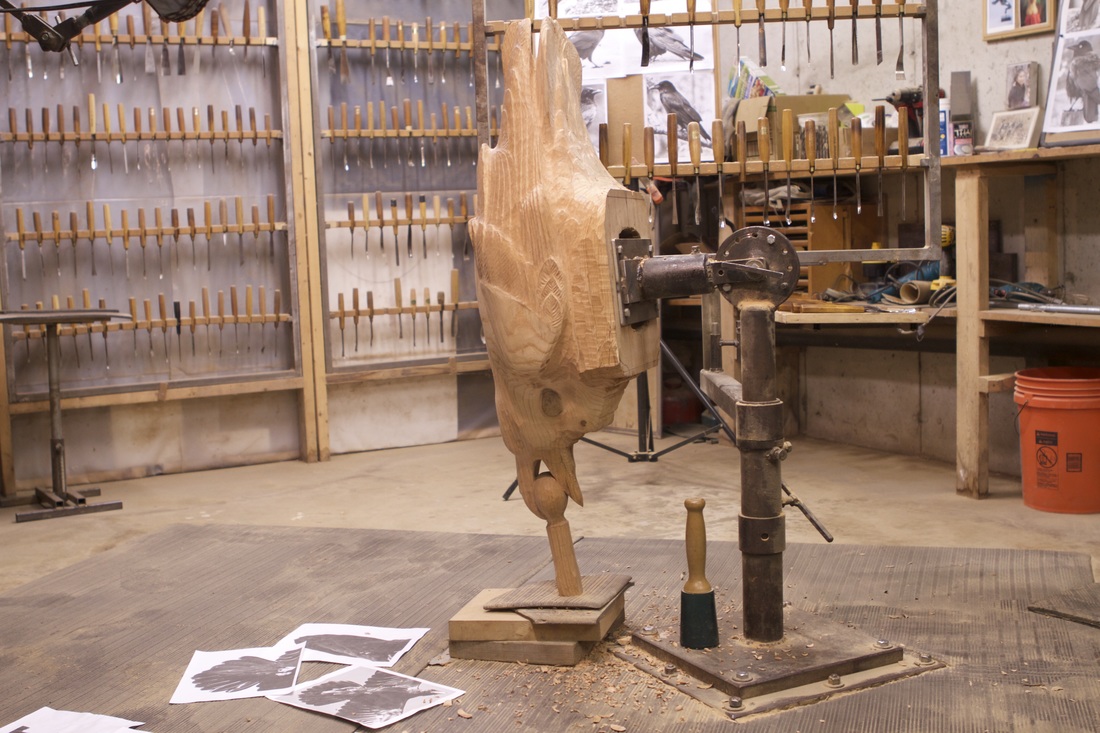
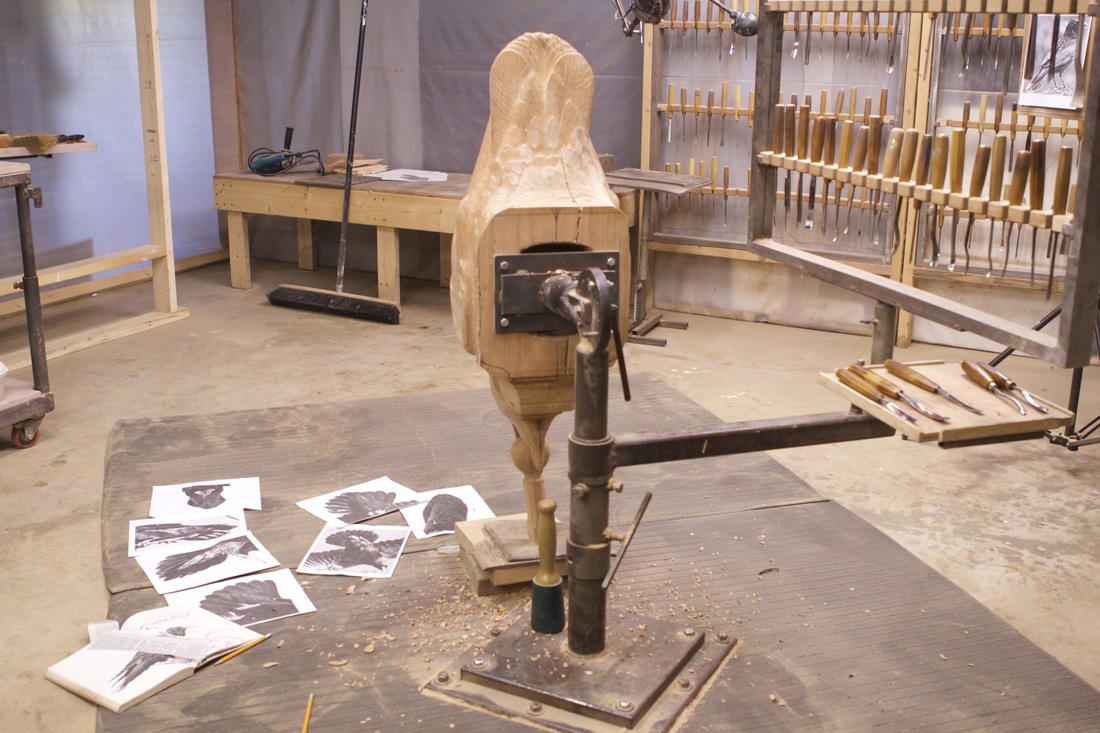
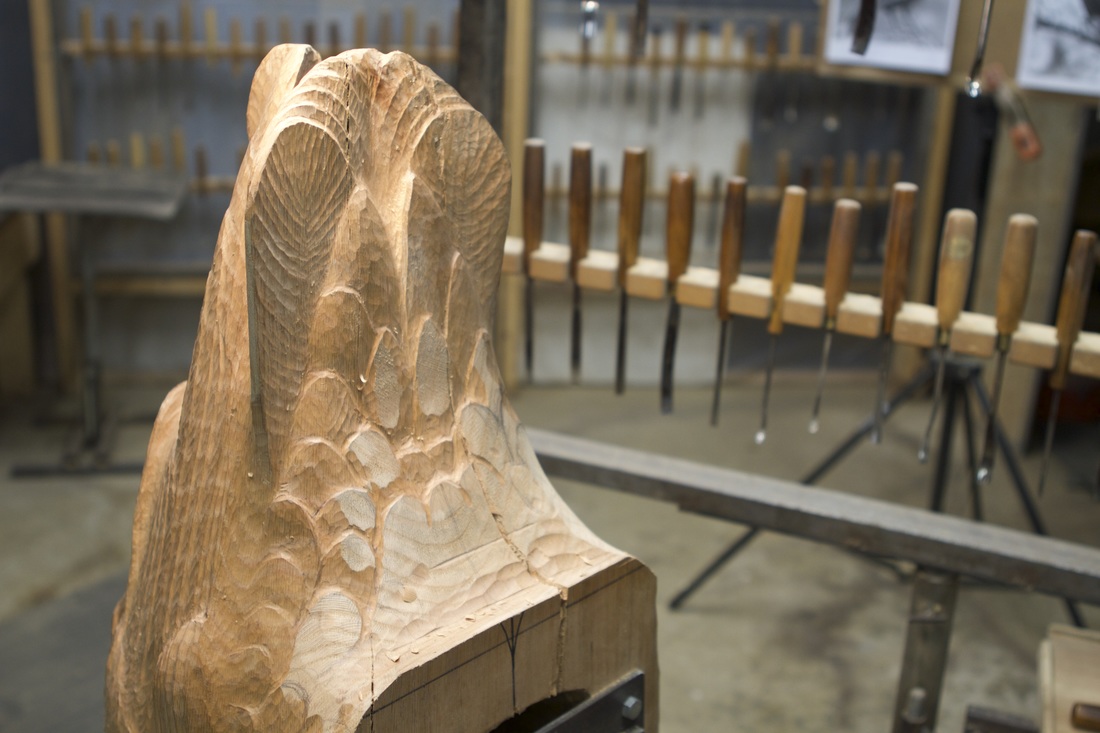
I am excited about this upcoming show, and as I mentioned, have also been really busy getting ready for it. 
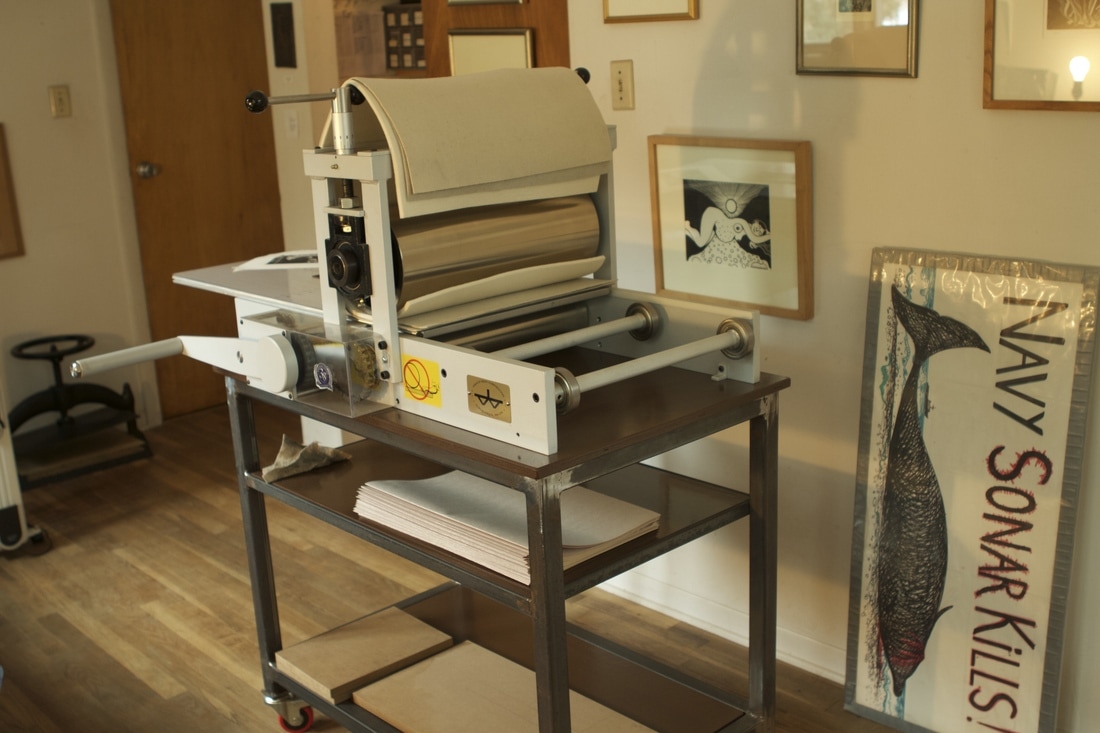
My beloved Takach 18-36 press... 
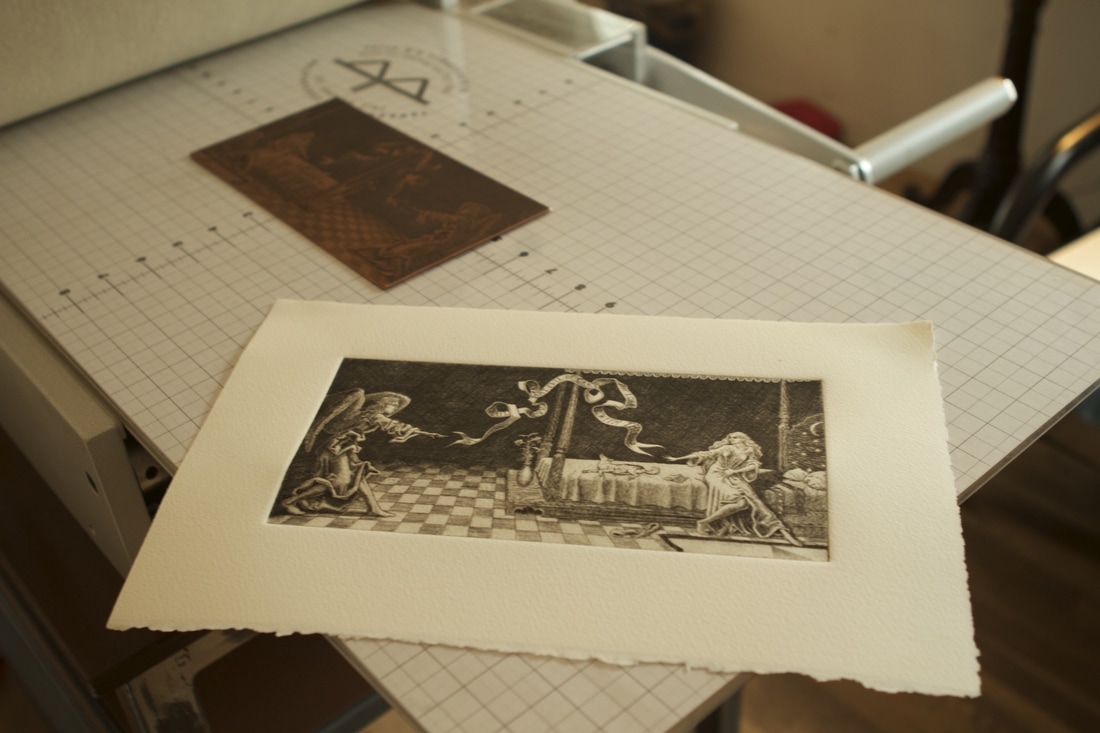
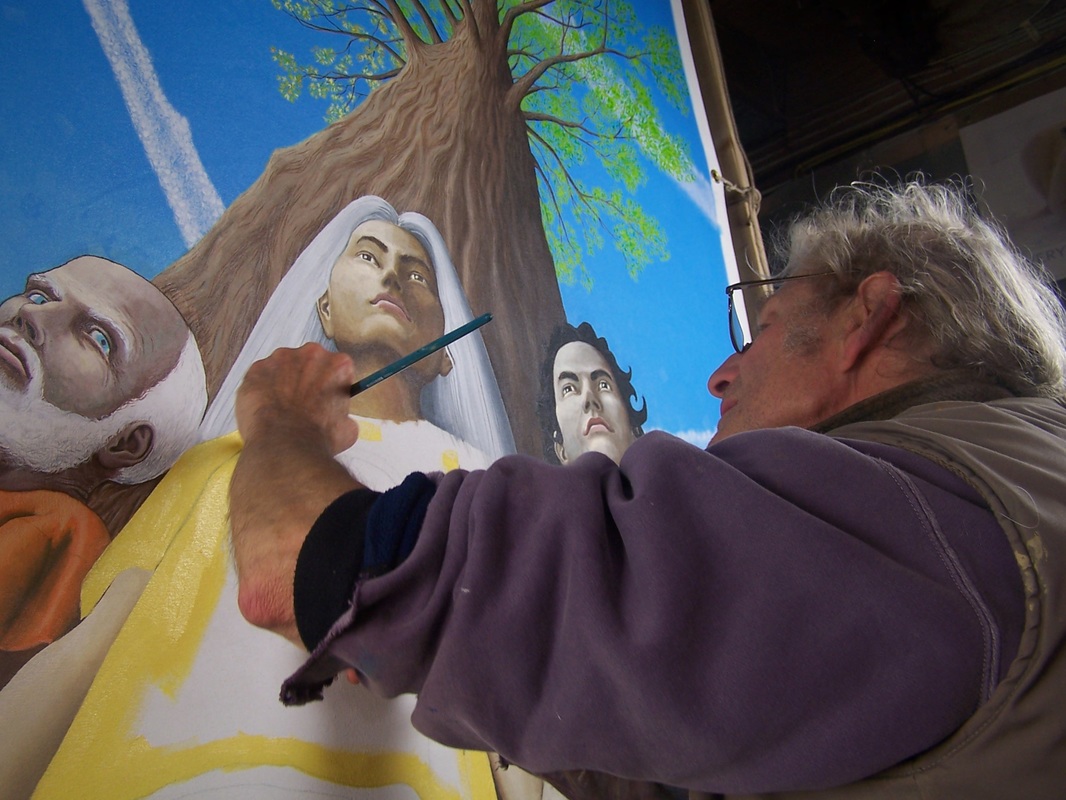
...And a freshly printed "Annunciation" engraving. More on the Green Lion Gallery exhibit later...
Well, I guess its been a while since my last post. Its been a busy time for me, and one of the things I have been busy with is getting back to my raven carving! It was time to further define the screwdriver this bird is holding in its beak. I wonder what its doing with that screwdriver? Then there is also the question as to what to do about the large check, or crack, that runs along the bottom of the carving. It has been there since before I started carving the log. Its what happens when a large diameter log starts drying out. As I mentioned in a previous post, I had hollowed out the log somewhat in the base in an attempt to try to keep the check from opening up much further. But the check is there, and the question is, what do I want to do about it? I could either leave it as it is, or try to fill it. Here is the same check, running along the front of the sculpture, up towards the raven's neck. I decided to fill the check by inserting wedge shaped pieces of oak and gluing them to one side of the check. By gluing it to only one side, it allows the check to continue to move if that is what it wants to do. Were I to glue it on both sides, it would likely crack again, as wood, by nature, just wants to move. But before making the wedges, I first needed to chisel out the check and make it so that I could get nice clean seams. Its a bit of a project making a wedge to fit tightly into the check. Here, the wedge is tested, without any glue. After a number of adjustments, I finally get a good fit. The wedge is glued into place. The masking tape is there to protect the carved area next to the seam from getting covered by any glue that is squeezed out of the seam. After the glue sets, I begin to carve the wedge... The one large check running along the bottom of the sculpture has now been filled, as you can see in this photo.The time has now come to remove the carving stand base plate so that I can carve areas near the base that were covered by the plate. The carving process is nearing completion...
This is my friend Bailey. The photo was taken back in October during the Maine Peace Walk. I love this picture of Bailey, as it captures something of his wonderful indomitable spirit. Bailey, who lives on Bainbridge Island in Washington state, did the entire 15 days, sometimes carrying the lead banner for the walk, as in this photo. He always had an eye out for all the cool stuff lying along the side of the road, and would often pick it up and stick it in his pocket or carry it along a ways. Some of that stuff was bolts, washers, hooks, and other scraps of steel. I suggested to Bailey that we might start saving some of those odd scraps to make a sculpture out of. So, when I had some time recently post-walk, I decided to do it! Here are some of those scraps laid out on my welding table. I also needed to use some other steel scraps I had laying about. And here is the finished sculpture.... "Bailey's Scrap" steel 12 3/4" h. x 11 1/4" w. x 9" d. I wanted to make the piece interactive, with a few moving parts, that Bailey could play around with... I'm going to send the sculpture out to Bailey. Hopefully, he'll get it before Christmas...
As I mentioned in my last post, I had a little welding project waiting for me. Akemi, my wife, is a potter, and needed some display shelves made for when she does shows with her pottery (www.gullrockpottery.com). We decided on making them take-apart shelving so they could be easily transported and stored. Here is the 1" steel tubing I used to make her shelving. And here you see the parts being assembled. The finished shelves.... And here you see the shelves disassembled, with 2 of the pine shelf boards getting their first coat of linseed oil finish. Following the pre-holidays show Akemi has coming up, we will place the steel outside for the winter for some weathering. After getting a nice firm coat of rust, the steel parts will be wire-brushed and then given their own linseed oil finish.
Well, its been a long time since I last updated this blog, mostly due to the fact that I don't have a portable computer or device to use while I'm away, but also just because life has been very, very busy with Walk preparation, and then the Walk itself. But now, the walk is over and I'm back home. It was another really wonderful Maine Peace Walk! I mentioned in my last post that I was beginning work on a design to represent this year's Walk theme ...Stop the War$ on Mother Earth, for the Walk sweatshirt. Above is the design that I ended up with. And here is the sweatshirt... Here, you see the 6 x 8 foot canvas for the Walk banner stretched out, ready for painting! And here I am painting. That yellow shirt was very important to me, as I used it in honor of the people of Gangjeong Village on Jeju Island, South Korea. I was very fortunate in being able to travel there last year with a delegation of Veterans for Peace, to be in solidarity with the people, who for nine years now have been non-violently resisting the construction and operation of a naval base that was built to US Navy specs, and which will port US Navy warships. The villagers were overwhelmingly opposed to the construction, with 94% voting against the base in a referendum. Despite the people's fierce but always peaceful resistance, the construction is finished now, and the base is operational... but only after laying waste to that once-beautiful pristine environment (home to a number of endangered species, including the estimated 114 remaining Indo-Pacific bottlenose dolphins) the village's sacred sites, and any notion of a genuine democratic process. Yet the resistance continues till this day. For more information, go to: http://savejejunow.org/ Back to the yellow shirt...As you can see in this photo, yellow is the color of the flags and shirts worn by many on Jeju Island during their annual Grand March for Life and Peace. It is a 5 day walk, beginning in Gangjeong Village, where two teams set out, one heading east, the other heading west, to walk around the entire perimeter of Jeju Island. Part of the dish-washing crew for the Grand March. Imagine all the organizing and energy it would take just to feed the hundreds of walkers on the March! This shirt says it all... And so does this smile. Its Sung-Hee here, one of the really wonderful activists I met in Gangjeong who continues to inspire me. And so, early on in the design stage, I decided that the central figure would wear a yellow shirt, in honor of the people struggling for peace on Jeju Island and beyond. The finished banner for this year's Maine Peace Walk. The theme of this year's walk was more challenging to convey in a single image than last year's theme, which was "Militarization of the Seas: the Pentagon's Impacts on the Oceans". Having been involved for the past 16 years now in efforts to reign in the Navy's reckless use of sonar, which is wrecking havoc on marine life, that image came to me quite quickly. Last Year's Banner... This year's banner mounted on the Walk support van, along with Maka the dolphin. As I was saying, for me, "Stop the War$ on Mother Earth" was a much more difficult theme to convey in one image. There are so many different wars being waged on and against the planet...ranging from naval sonar sound-blasting our oceans, to over-fishing, deforestation, and human-caused extinctions to climate disruption and endless war. How to capture that in one quickly readable image? After a lot of sketching trying out many different ideas, I finally settled on a group of people coming together, linking hands, to protect a giant tree. In my mind, it is The Tree. The Tree of Life. I choose to portray it from a very low point of view in order to focus attention not only on the people, but also that sacred tree. With all that sky above, I was able to include in the image one of the many wars against the planet; one that goes unrecognized by most people. That is the spraying of, what some refer to as chemtrails, from certain airplanes. Unlike con-trails, which typically disappear within, at longest, several minutes, chemtrails sometimes last literally hours before finally dispersing, often smearing up otherwise clear skies. Some believe this to be an effort to geo-engineer the weather and climate. Others speculate that in addition, it may have military applications. What I do know for sure, is that these long-lasting trails which can frequently be seen crisscrossing the sky, did not occur regularly until maybe around 20-25 years ago. Now they are a very common sight. For more info on this, check out: http://www.geoengineeringwatch.org/ and https://www.youtube.com/watch?v=xFQ2_0QNiks In this photo, taken on the 2nd day of the Walk, you can see chemtrails not only painted on the banner, but also real ones in the sky above the banner and Maka. Here again, more chemtrails. One partly diffused over Maka, and another, if you look carefully, being sprayed from the airplane passing just above Maka's back. This photo was taken on the 4th day of the Walk. Maine Peace Walkers gathering on Day 1 at Penobscot Nation, on Indian Island. The Penobscot Nation hosted a potluck dinner, and we were honored to listen to Chief Kirk Francis and attorney and native rights activist Sherri Mitchell speak on the Penobscot's struggle for Justice for the River. Day 2. As in past years, the walk was led by Japanese Buddhists from the Nipponzan Myohoji order, who lead peace walks all over the world. Ahead of them, carrying the lead banner is 10 year old Bailey from Bainbridge Island, who enthusiastically walked the entire walk. Some of the walkers, as we approach Portland on day 12 of the Walk. Not sure which day of the Walk this was, but it looks like a nice one. In any case, the Walk came to an end on Day 15 when we reached the Portsmouth Naval Shipyard in Kittery, Maine, where we held a vigil at the gate during a worker shift change. That, and the celebratory dinner afterwards at a pizza place that had very generously donated many pizzas to the walk on the previous day, brought an end to this years walk. Of course there was also plenty of post-Walk work that needed to be done; and to a large degree, it is now. Maka is now taking a rest in my studio, which has been cleaned up following the messy storm of painting the banner. I'm almost ready to get back to carving, but first have to do a little welding project. More on that latter....
Time flies, and this year's Maine Peace Walk is coming up in the not-very-distant-future! For the time being, work on my raven sculpture will have to be put on hold. I have again volunteered to design and create our Walk sweatshirt design and the 6 x 8 foot painted canvas banner that will be mounted on the walk's support van. I have moved to my cleaner, brighter upstairs studio/dining room table to work on the sweatshirt design. If you look through the railing on the deck outside, you can see two of the wild turkeys who have just arriving for breakfast at our bird feeders. Wild turkeys are frequent visitors here this time of the year. Akemi and I love watching the birds and various other creatures out behind the house... My sketchbook with some of the many designs I've been working on. None of them seem quite right yet, so I've got to keep at it! More later...
As I mentioned in my last post, ravens, like most birds, have a lot of feathers. So I have been busy working on feathers. And oftentimes, reworking feathers. As in most of my art work, both in sculpture and print, I find myself not happy with certain parts or areas of what I have worked. And so I go back and rework it to attempt to get it closer to what I am after. This has been the case with this sculpture...I have spent a lot of time reworking areas already carved! But thats the way it is. Here you can see some of the raven's reworked feathers...And for the time being, thats it for carving feathers! I need to begin work on another project...more on that in my next post.
Ravens, like other birds, have a lot of feathers...And so, not surprisingly, I have spent most of my time on this carving working on feathers. As you can see, the basic form of this sculpture is quite simple, but the feathers and the patterns created by the feathers are not. Here in this photo, I have penciled in some of the feather pattern on the raven's back and neck... Beginning to rough in some of those back feathers... A view of the back with feathers carved in... And now roughing in some of the raven's left shoulder. The feather work continues...
One of the things that I love so much about ravens (and there are many things that I love about ravens) is how they seem to change how they look, sometimes appearing very sleek and streamlined, other times appearing with their feathers all ruffled up by the wind or their mood, as in this wonderful photo entitled "All Chuffed Up" by Paul Lantz. I love the textures and patterns the feathers create, and how I feel looking at them...And maybe that chuffed up look enhances the feistiness of these feisty beings. Here I am just kind of roughing the feather forms in below the raven's wing. If you look carefully, you might see the beginnings of what will be the raven's outer left toe poking out from amongst the feathers. I have placed the carving so I can work on the raven's throat and breast feathers... Working on the throat feathers. The raven's outer toe has been defined a bit more and its middle toe is also beginning to emerge from feathers.... It might not be apparent in these photos, but after working on the throat feathers a while, I didn't like so much what was happening, and so I decided to rework much of that area. This photo shows more clearly the raven's left foot. And here you can see that I have also started carving in the raven's right foot. Note the original, still un-fired terracotta maquette on the modeling stand behind the carving. Though I have not stuck very closely to the maquette in the carving, it still helps me to look at it from time to time. And here is a closer view showing some of those ruffled feathers....
Its time to begin to carve the raven's tail feathers on the underside. This is a good example of where my carving stand really helps in positioning the piece so I can carve in a reasonably comfortable position. Though I have spent considerable time carving from a kneeling position, it beats trying to carve while lying on my back! The arrangement of bird's feathers is quite complex. Things obviously change depending on if the bird has wings folded or in flight, if its tail is fanned out, if it has puffed out its feathers etc. Not having a raven friend willing to model for me, I have to spend a considerable amount of time doing my research in books and on the computer. It helps to have photos printed out which I refer to frequently during the carving process. Here is a closer view of some of those tail feathers...
|
Archives
February 2021
Categories
All
|