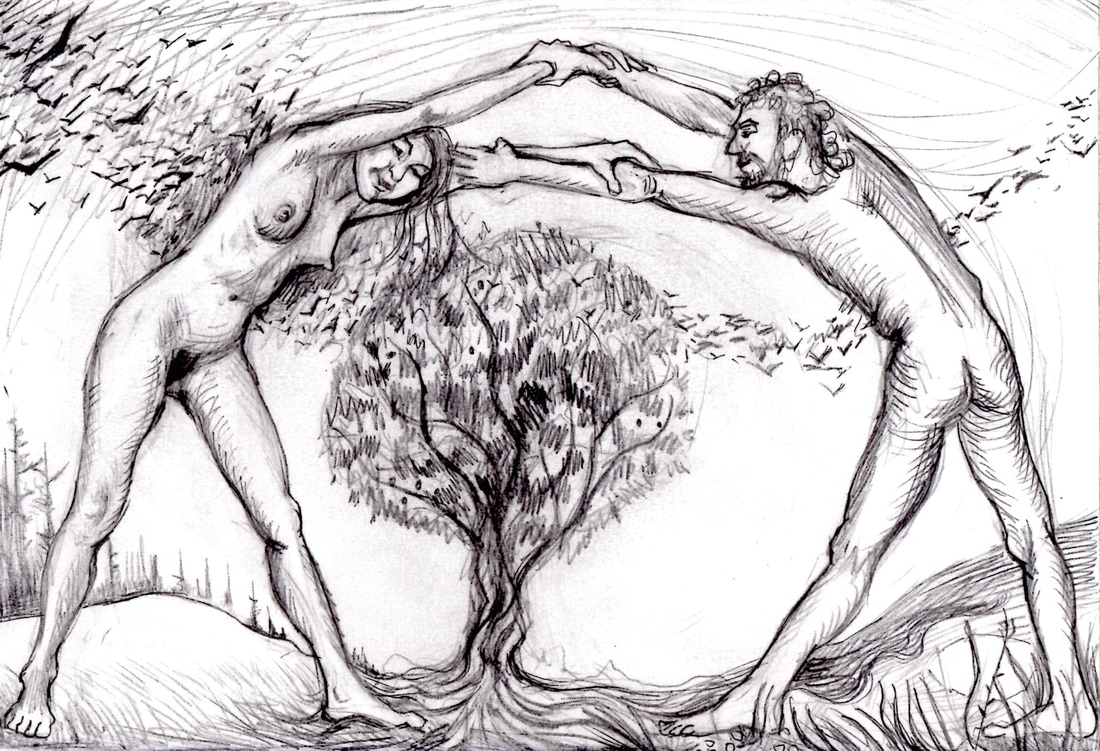
As I mentioned in the last post, I have been wanting to do some carvings in relief. For my first one, I decided to use this recent sketch I had done as a potential design for a drypoint ( and I still might use it for that too!).
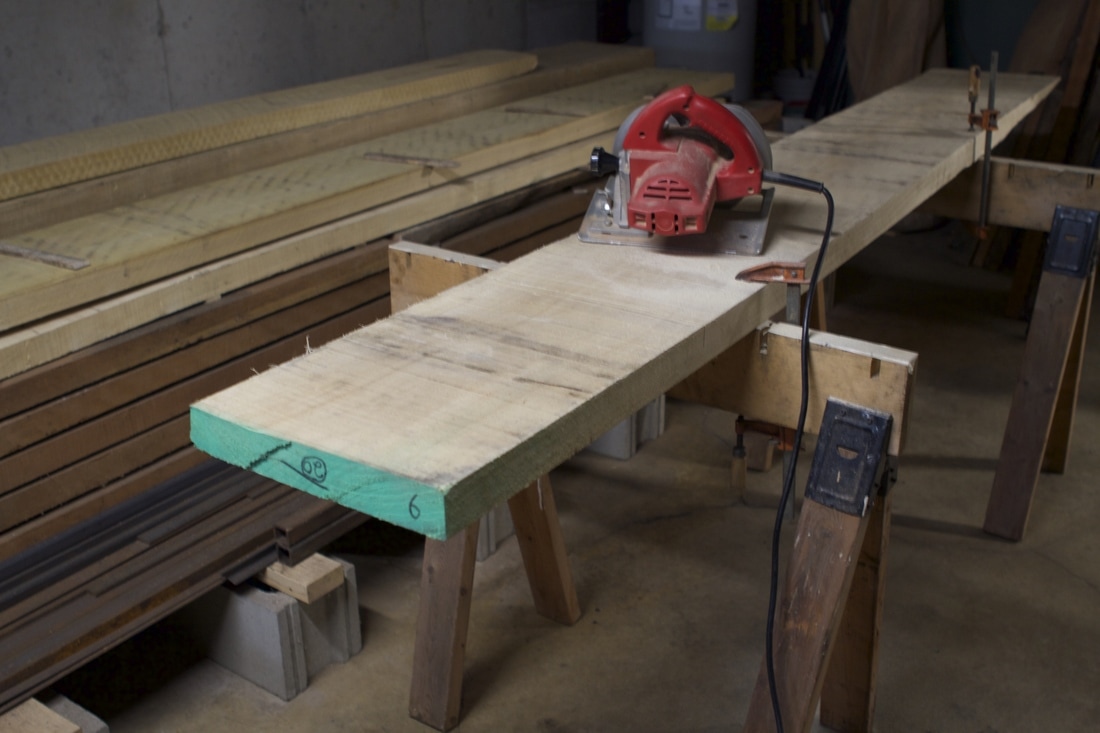
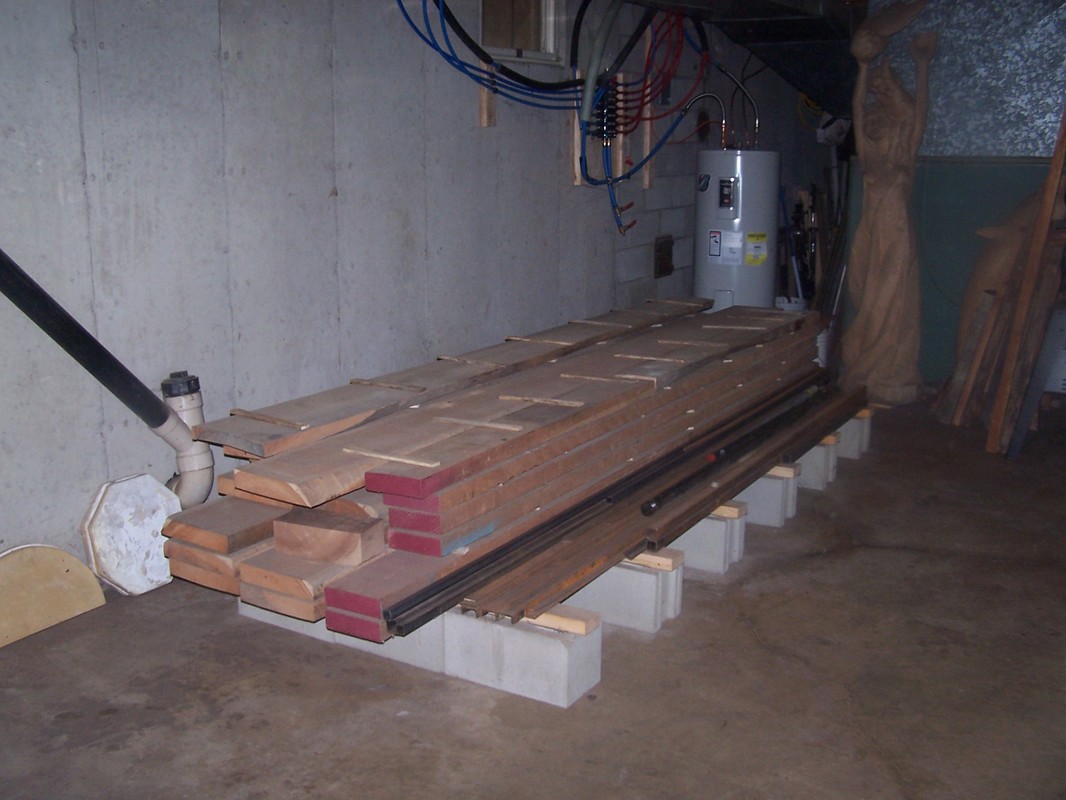
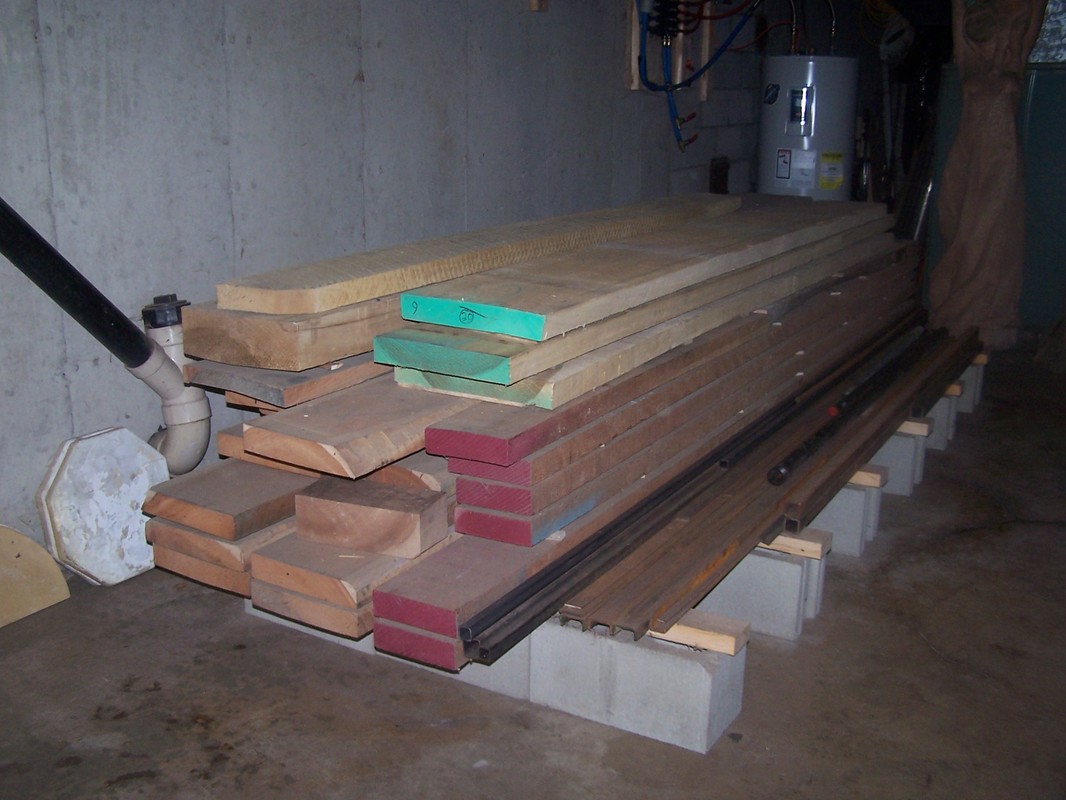
Cutting a piece of that nice wide poplar board to use for the relief carving...
Taking the warp out of the board, and cleaning up the surfaces on my joiner/planer.
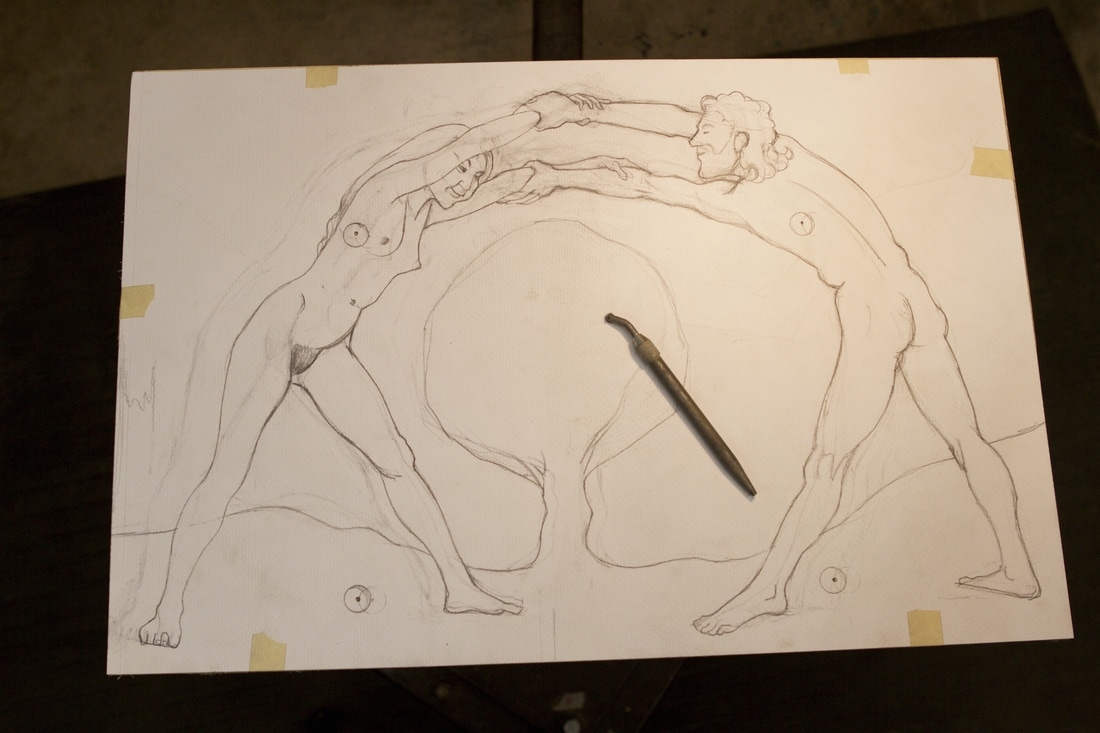
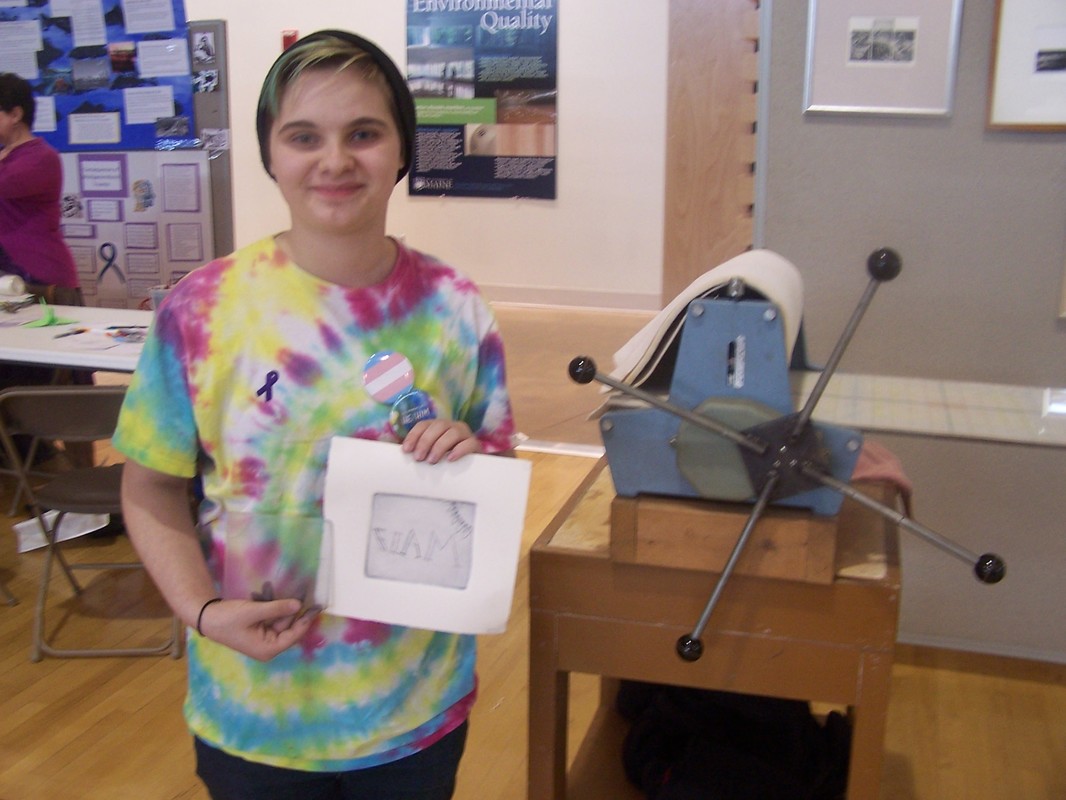
The next step is transferring the enlarged design (which I have changed a bit from the original sketch) to the board. I do this by going over the lines with a pounce wheel, which is shown in the photo. The four little circles you see mark the locations of the lag screw which attach the board from the back to the carving stand base plate. I chose those locations as the wood will remain fairly thick in those places, with little danger of carving down to the screw.
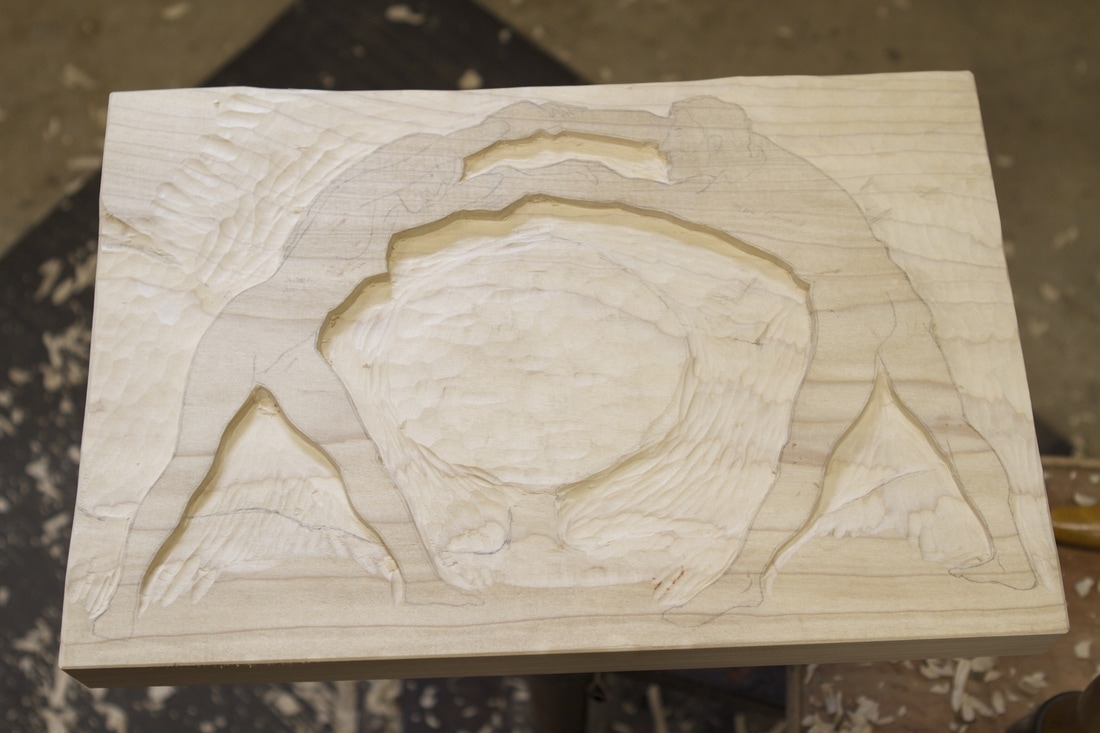
Now the carving has begun. Initially, I just carve the background areas down, leaving the figures at full thickness.
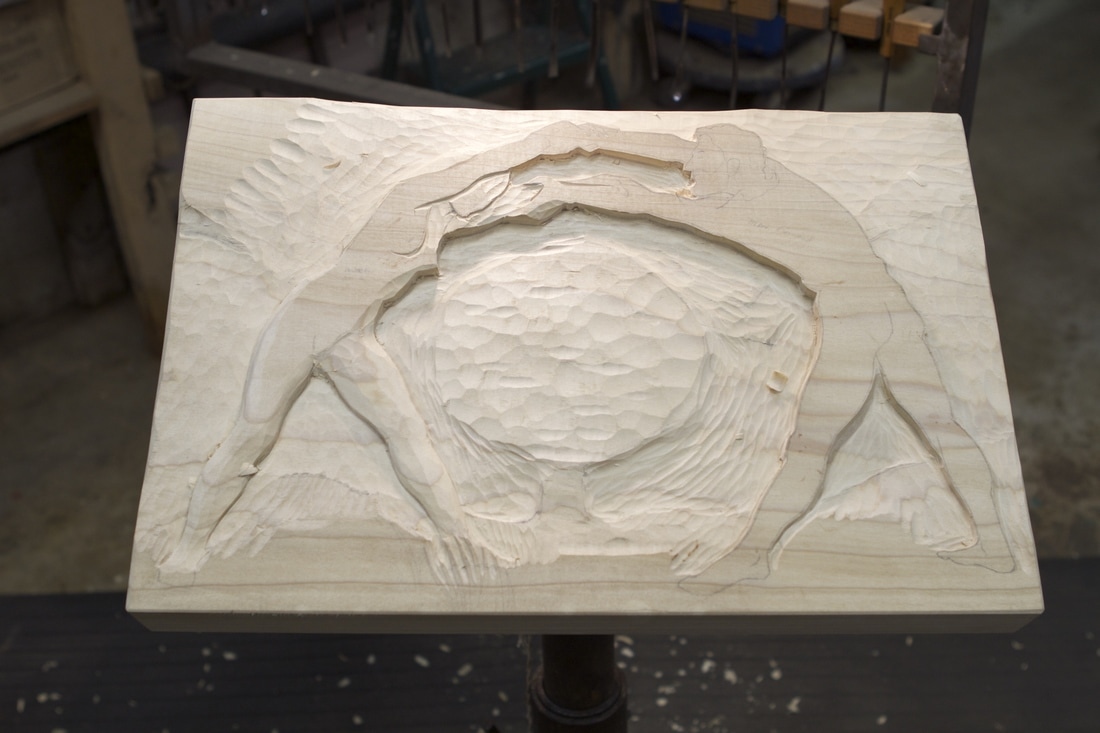
Then I begin rounding the forms in the figures.
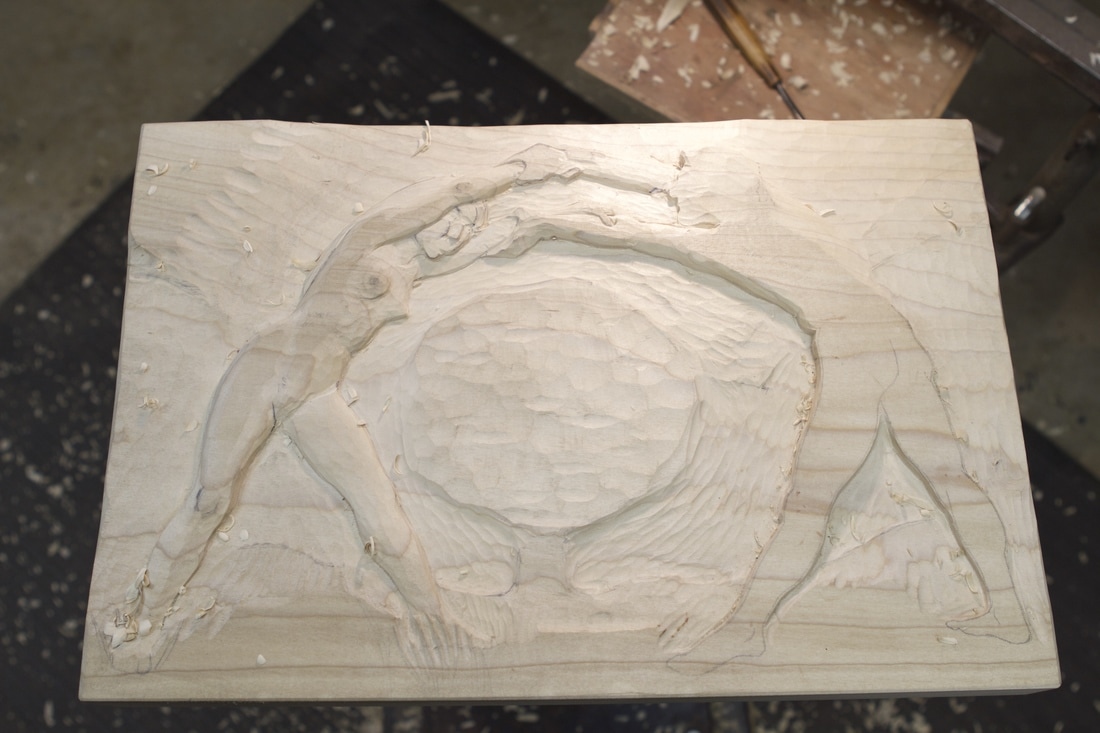
The challenge in carving relief is in making the figures appear to be in the round...Here I have just started. We shall see as the carving progresses...