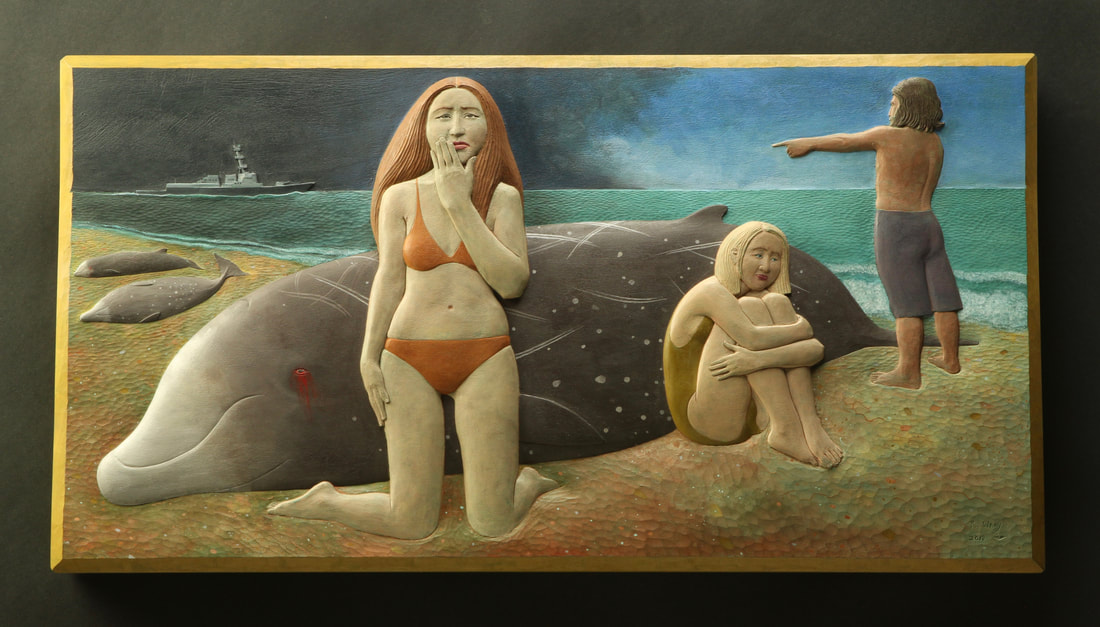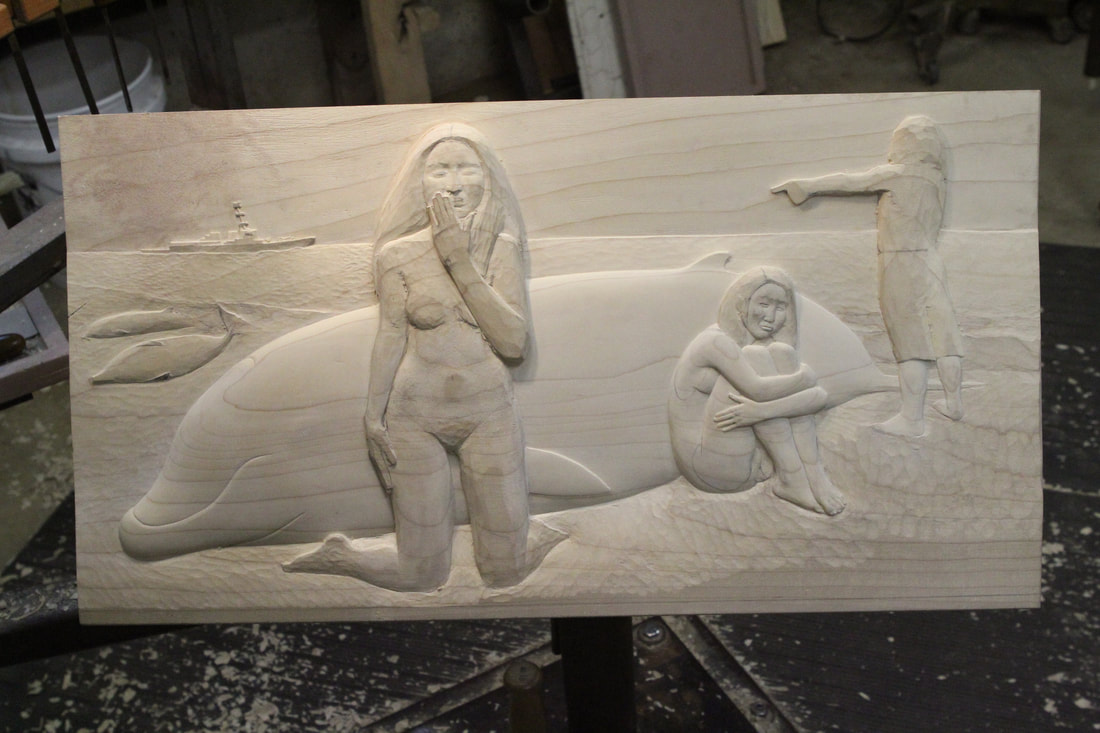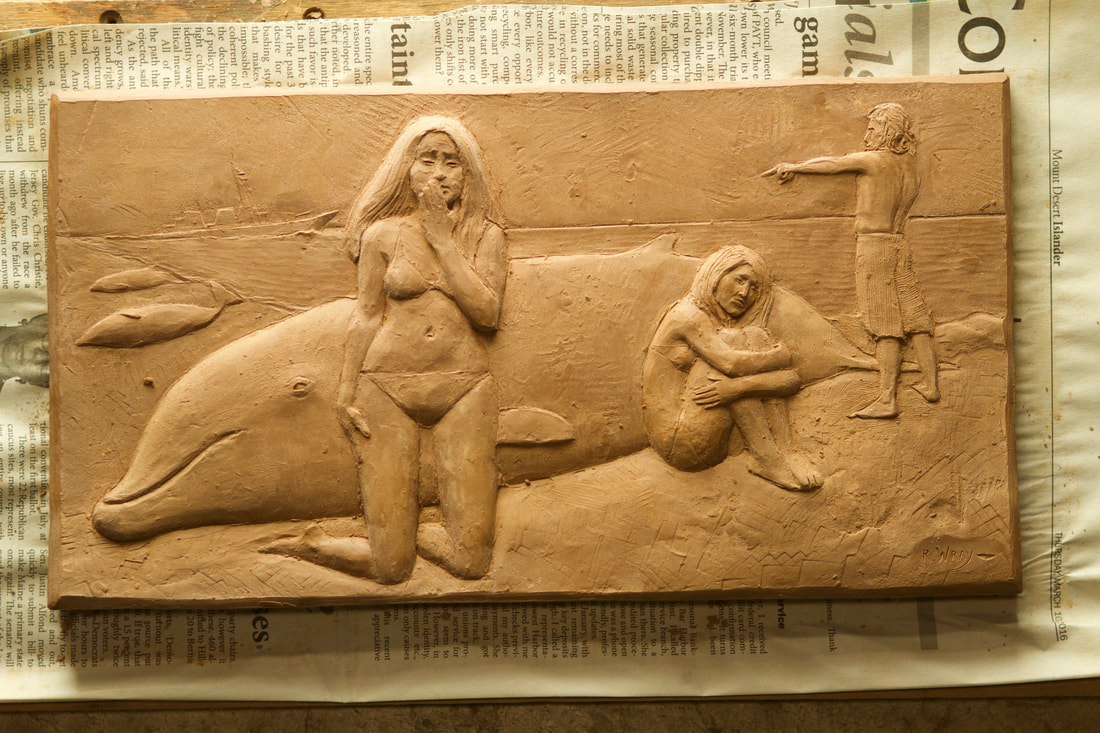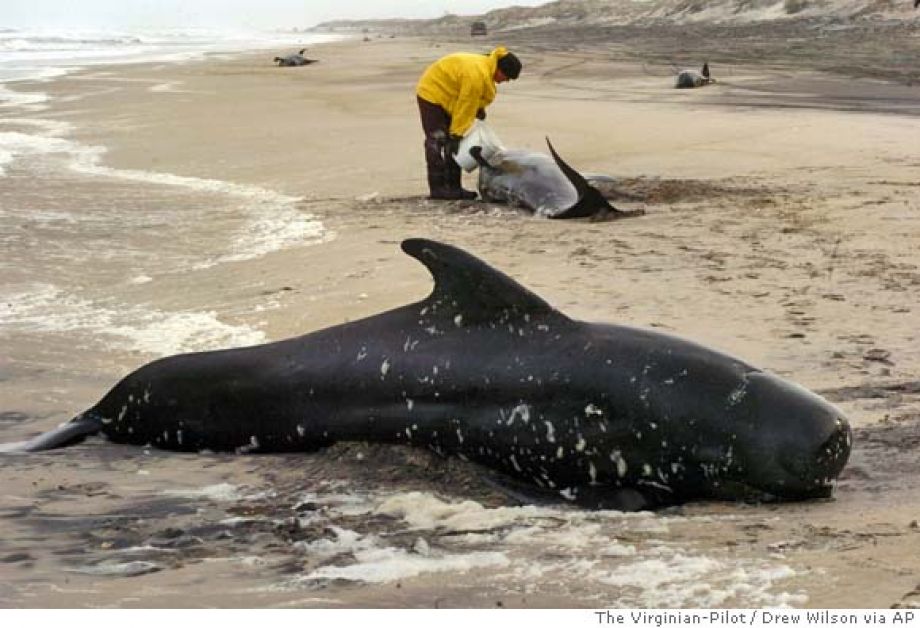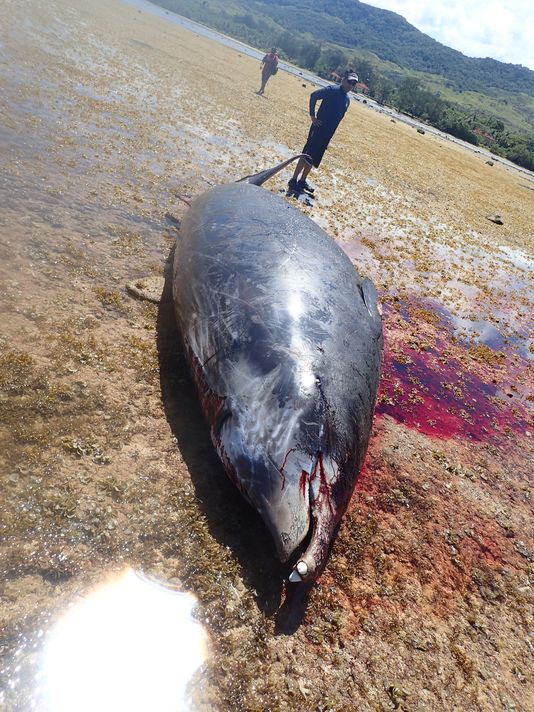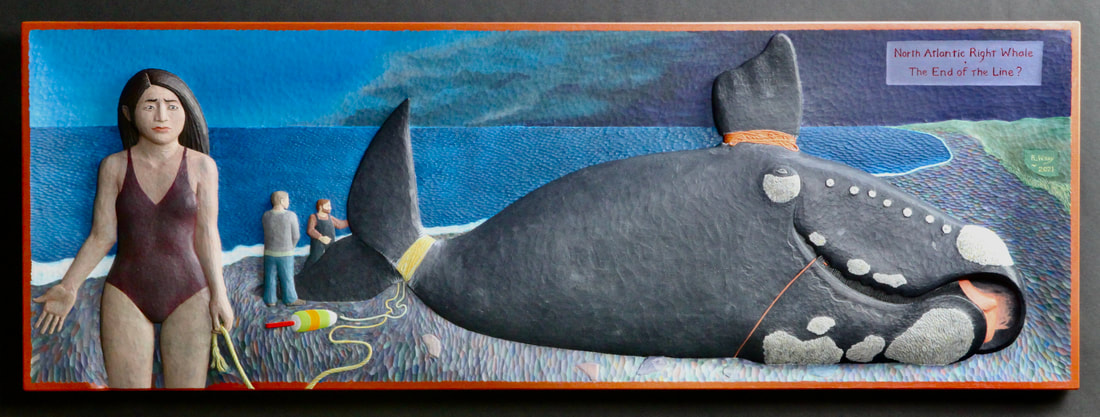
North Atlantic Right Whale ~ The End of the Line?
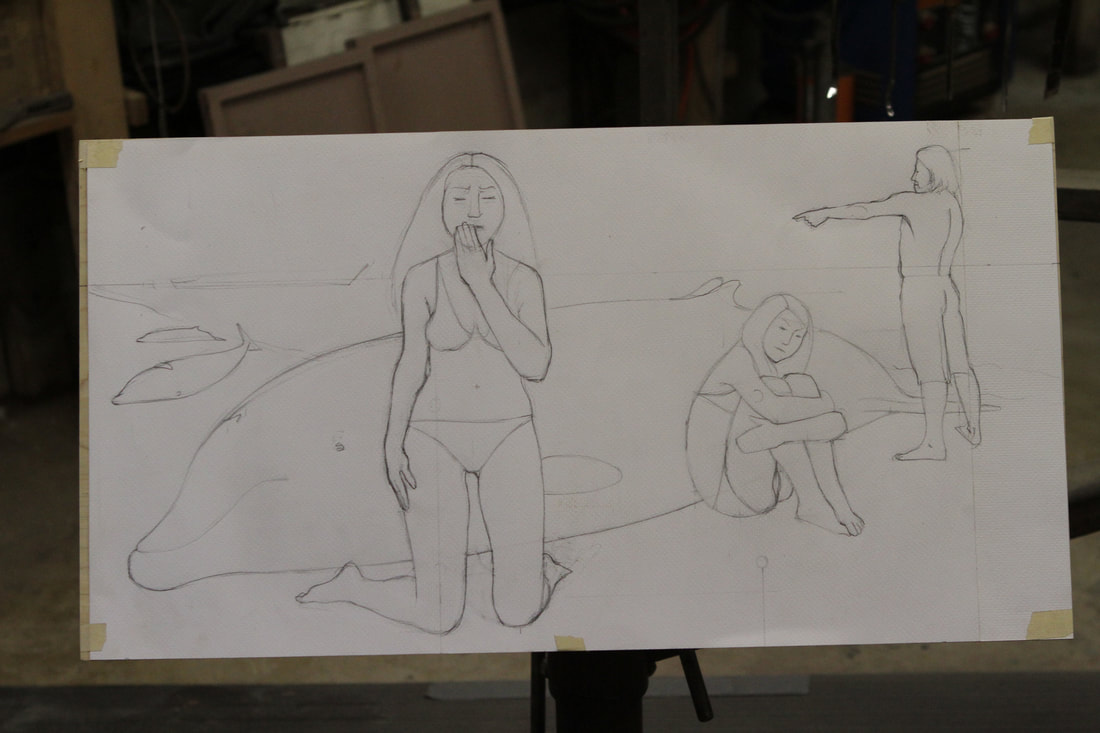
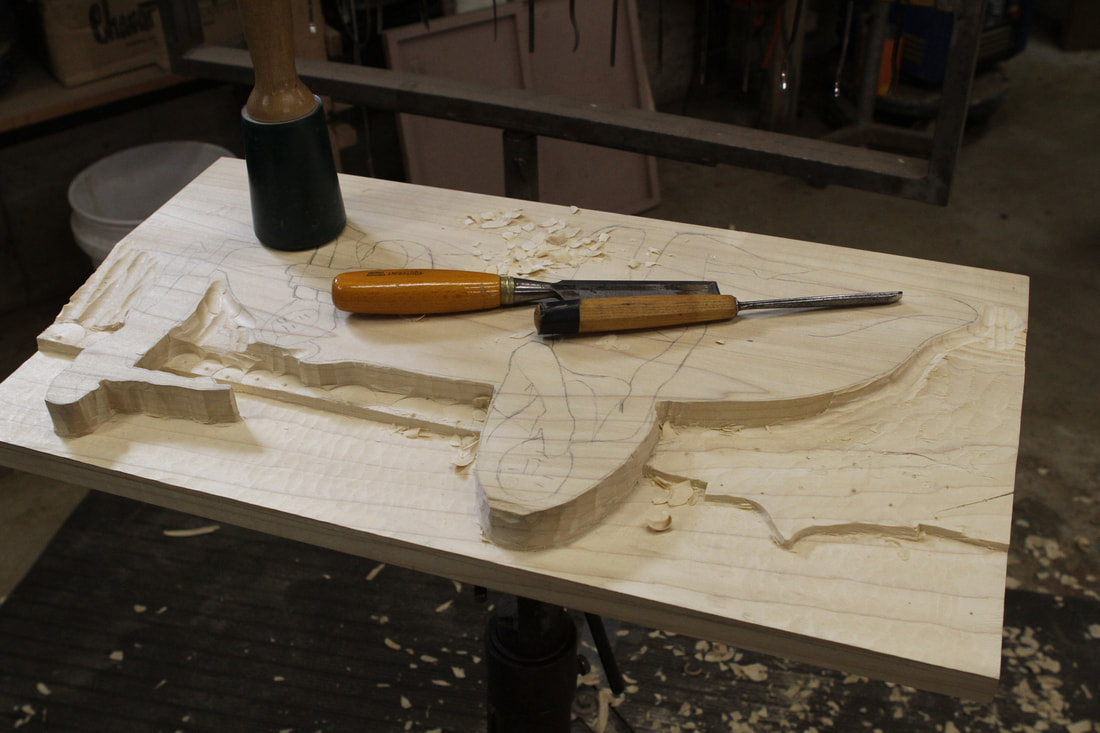
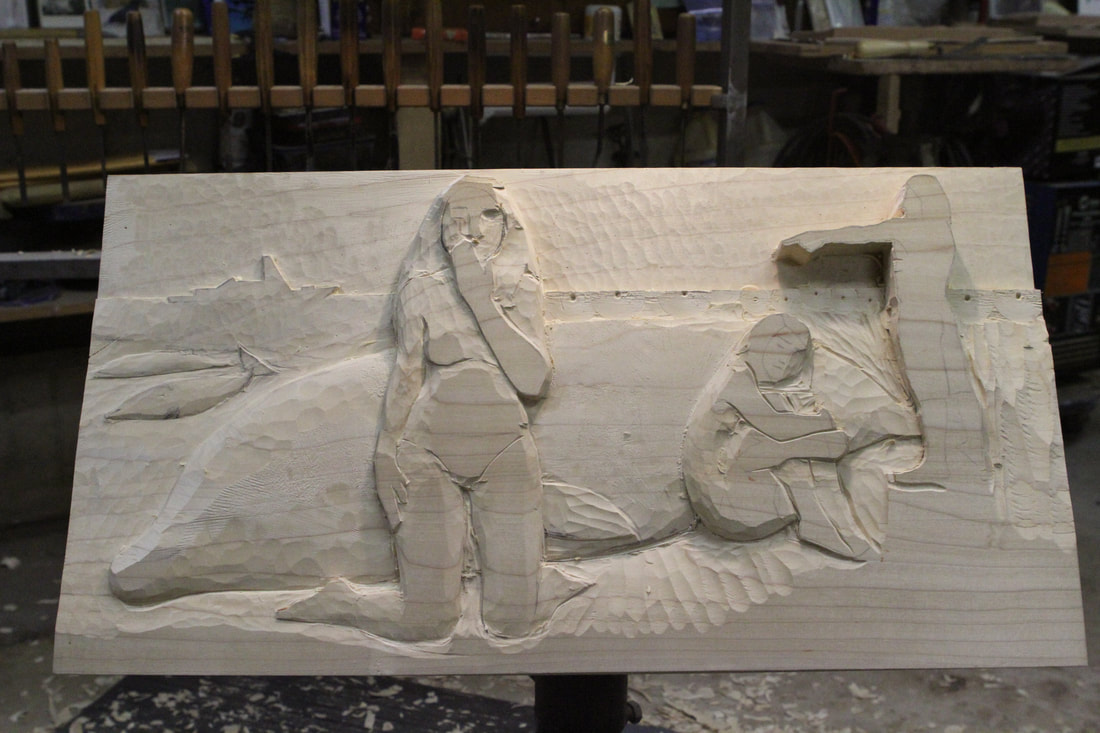
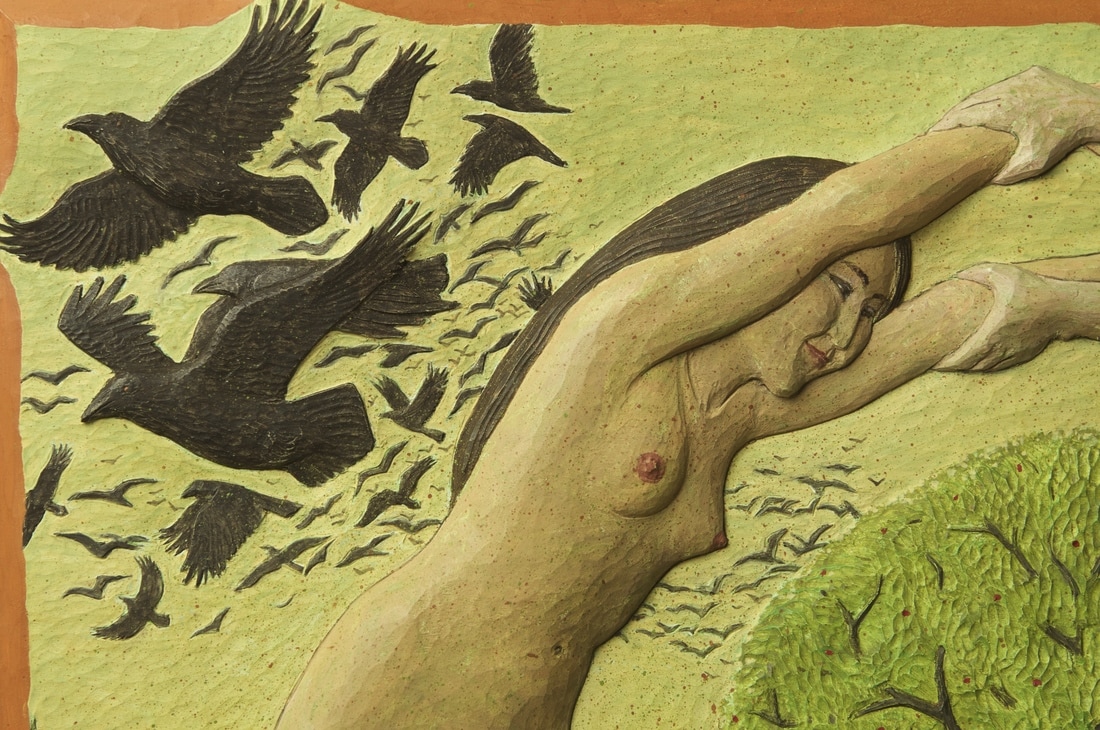
poplar, acrylic paints 14" h. x 40" w. x 2" d.
poplar, acrylic paints 14" h. x 40" w. x 2" d.
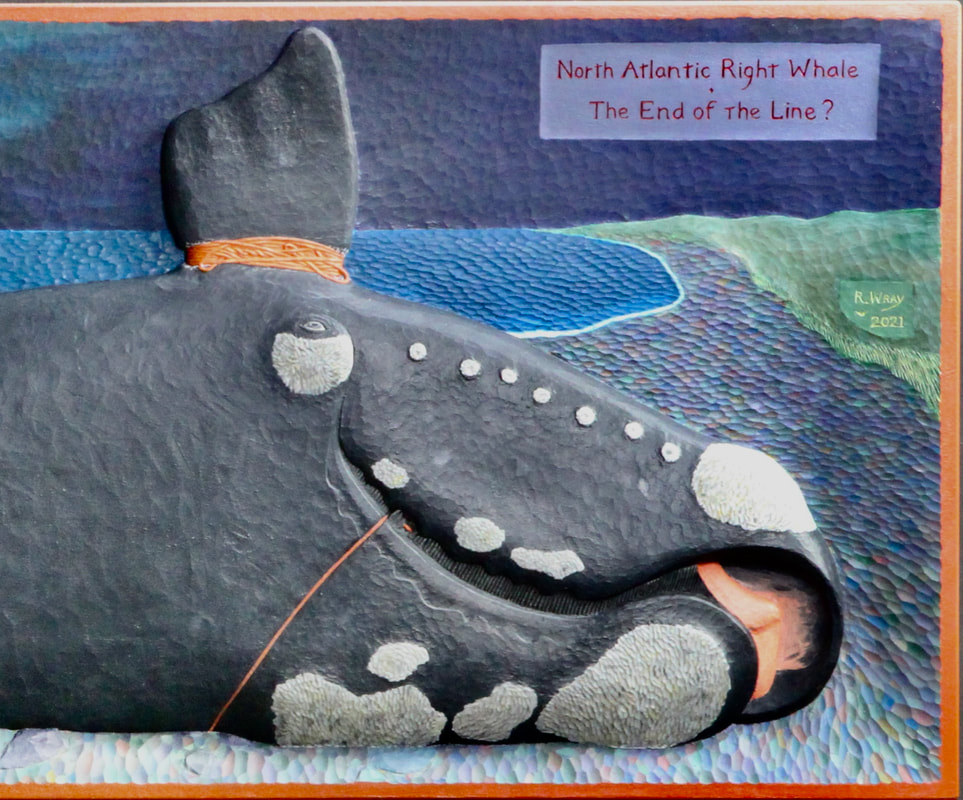
I have already written much in this blog about critically endangered right whales, and some of the threats to their continued existence they are facing. So I won't add a lot more on the subject, other than to say that what we choose to do about these threats now, and in the near future, will determine if any of these whales will still be here in twenty years. I hope we will make the right choices...